

Tater Facts
by Valle Novak
In this article, I bring you a bright ray of sunshine – advice from Pat Van Volkinburg, Advanced Master Gardener, Master Composter, owner of “Bountiful Organics,” Farmers’ Market vendor, and the acknowledged “Spud Queen” of Bonner County – on her foolproof way to grow potatoes.
Pat has won countless ribbons – (including Purple) at the Bonner County Fair for her great potatoes, and her spuds and other produce are eagerly sought at the spring-to-fall Farmers’ Market in Sandpoint. Pat regularly conducts the Vegetables class for the new crop of Beginning Master Gardeners at the Extension office and provides handouts so exceptionally insightful in the realm of potato growing, that I asked her permission to use excerpts for my readers. She graciously accepted, so following is a compendium of helpful information for all of us to grow our own safe, nutritious “Earth Apples” at home. Pat says “If you live in Idaho, this is a requirement for residency!”
- Location: Full sunlight or a minimum of six hours of sun a day.
- Soil type: Silty loam is ideal. Heavy soils should be amended with compost and/or composted manure.
- Drainage: Test by digging a hole six inches wide by 12 inches deep. Fill with water, let it drain and fill again. If more than 8 hours elapse before it drains, you have poor drainage. Add organic matter if clay is your problem. If not, try raised beds or growing in containers.
- Soil pH: Acidic soil is ideal. At 5.7 or lower, common scab can be kept to a minimum. To lower pH, add 1 pound of sulfur per 100 square feet, mixing it into the top three to four inches.
- Nutrition: The elements needed in the largest quantity are nitrogen, phosphorus and potassium – such as 5-10-10. Because plants absorb the essential nutrients in their most elemental form in the water found in the soil, the sources of these nutrients can be either from natural plant and animal materials and mined rock minerals, or from synthetic fertilizers.
Besides being synthesized from non-renewable resources, chemical fertilizers do not enrich the soil’s organic matter content, necessary for beneficial soil micro-organisms which also maintain soil structure and water-holding capacity. Besides adding nutrients, organic matter and soil amendments also help improve drainage.
How much to plant: 10-12 pounds will plant a 100-foot row.
Soil preparation: Till or dig deeply, remove rocks and incorporate organic matter such as compost or well-composted (NOT fresh) manure a month before planting.
When to plant: When the soil temperature is around 45 degrees. Pat offers a more sophisticated time frame as being “when the dandelions bloom out in the open”!
Selecting seed: Always use a reputable source, and make sure they are selling “certified” seed. Though “certified does NOT guarantee disease-free, it means that certain diseases were tested and that they did not exceed the allowed amount of disease(s) found present.
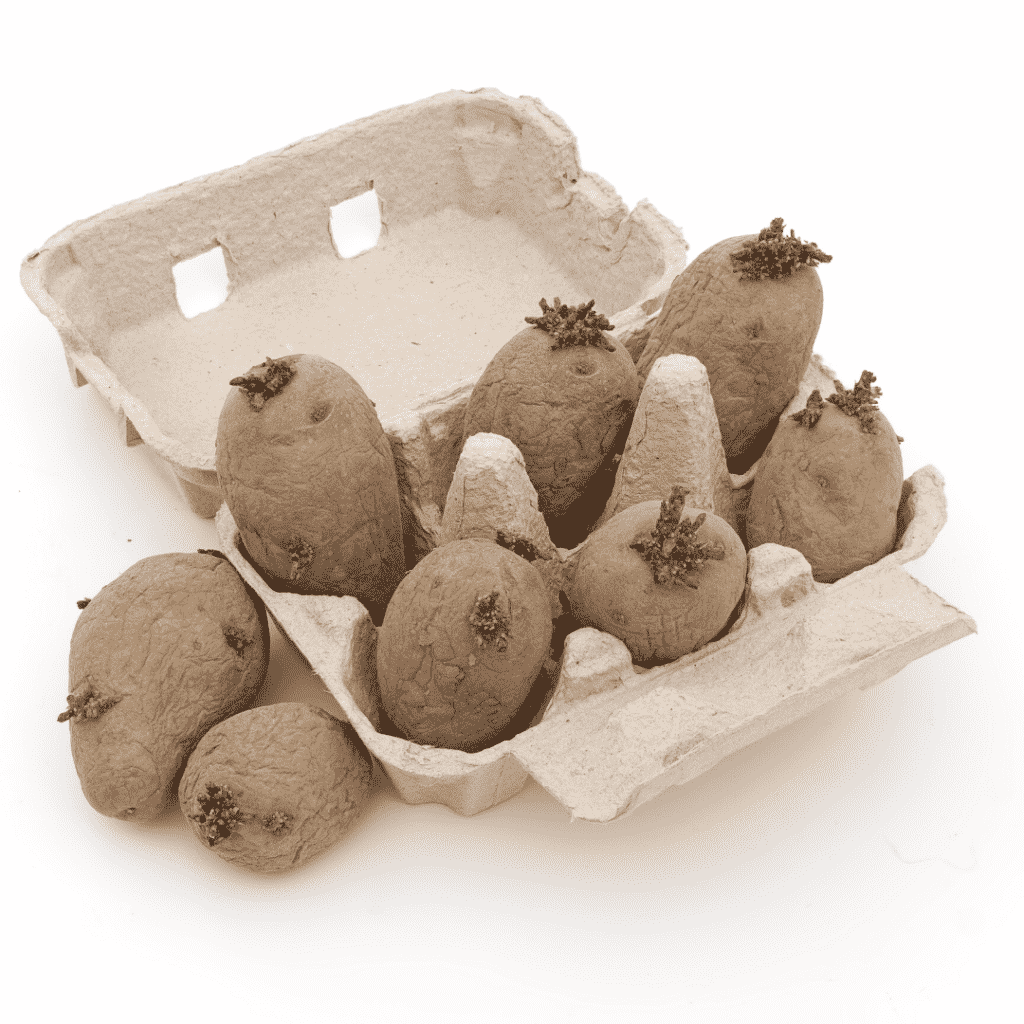
“Chitting:” This step can really make a difference in overall performance. You merely spread seed potatoes out, and expose them to light. This ensures good strong sprouts and helps with early emergence. In our cool and often moist spring conditions, early emergence is important for the reduction of rot. Pat says it also makes cutting seed pieces easier, because you can tell when the sprouts are.
Seed size: Usually 1 to 1 1/2 ounce or the size of a small egg is about right. Larger ones can be cut and should contain 2-3 eyes each. Generally larger seed pieces produce high yields of small to medium size tubers. Small seed pieces have lower yields of larger tubers. When cutting seed pieces, use a clean, sharp knife. To avoid contamination, dip the blade in either alcohol or diluted bleach between cuts.
Allow cut pieces to “heal” before planting. Spread out on newspapers or cookie sheets for several hours or overnight. Cut edge should be dry and hardened. This process helps to resist disease. Don’t let cut pieces remain unplanted for longer than 24 hours. Dusting cut seed with sulfur can help prevent disease problems. Place tubers and sulfur in a paper bag and shake.
Planting: Potatoes are usually planted in trenches which can be easily made with a hoe. A depth of about 8 inches by 6 inches wide is ideal. Rows should be three feet apart if possible. Soil amendments are then added to the trench and mixed in. NEVER add fresh manure! The whole or cut seed pieces are placed cut-side down (sprouts up), spaced about 1 foot apart. Planted farther apart, you’ll end up with fewer, but larger potatoes. Closer and you’ll end up with a larger number of smaller potatoes.
Now, cover with about 4 inches of soil and tamp lightly. After emergence, and before bloom, a foliar (leaf) feeding of fish emulsion and kelp really gives them a kick-start (3 tablespoons fish, 3 tablespoons kelp per gallon @ 1 gallon per 50-foot row). This should be done in the morning while the dew is still clinging to the leaves.
Watering: Keep the soil evenly moist but not soggy. Water is most important as the plants begin to develop tubers. Depending on variety, this is about six-10 weeks after planting. After tubers have sized up, it’s important to not over-water, otherwise growth spurts occur, resulting in cracking and hollow heart. Pat advises that if potato size is not important, you might consider “dry-farming.” In other words, leave it up to Mother Nature to provide the moisture. Potatoes grown with a minimum of water tend to store better and even taste better.
Hilling: When plants are 6- to 8-inches high, use a hoe to pull soil from between the rows and mound up around the plants, covering growth up to the top 4 inches, which you will leave above-ground. Repeat this again in two to three weeks, again leaving 4 inches above-ground. This helps create an ideal growing area and reduces the chance of having any green potatoes near the top. Another method would be to mulch instead of hilling. Straw or hay can be used instead of soil. This works particularly well if you have a problem with common scab in your soil.
Weeding: Generally not a problem. When hilling, the soil is scraped and takes care of any weeds between the rows. After the plants grow large, the canopy creates adequate shade.
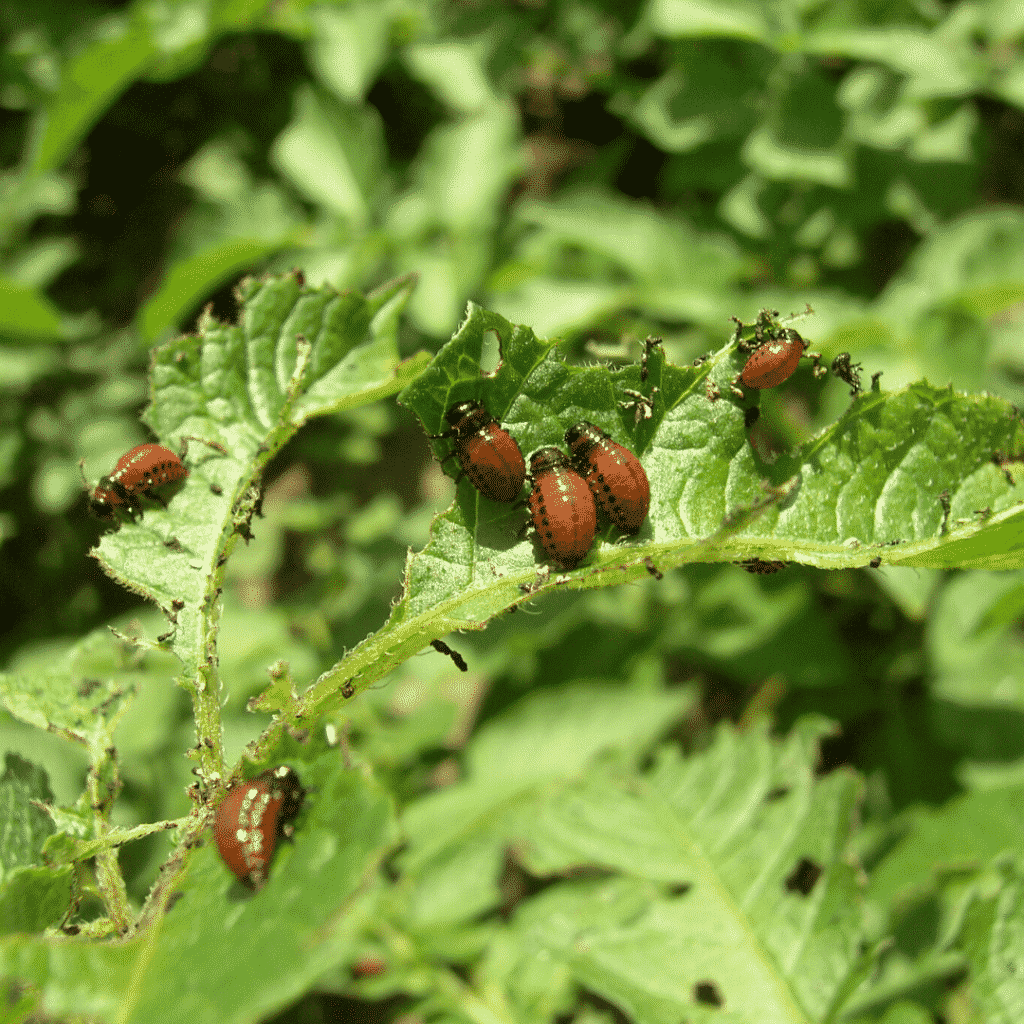
Pests: Probably the most devastating is the Colorado Potato Beetle. They begin to show up around the first part of June. If not kept in control, they can defoliate a plant almost overnight! They can have several cycles during the season. The best defensive is a strong offensive. Hand-picking is the easiest. Checking for eggs is a bit of a challenge, as they are laid on the undersides of the leaves. Thankfully, they are a bring orange and, when standing on your head can be easily spotted! Simply crush them on the spot with a gloved thumb.
The larvae do the most damage. Bt San Diego is a proven, safe pesticide, but should only be used if an outbreak occurs, and is only effective on the larvae (worm) stage. Daily checking and hand removal of adults and larvae is still the easiest. If it happens late enough in the season (after vines are in the drying-off stage), the damage is not something to be concerned about.
Proper sanitation and rotation is mandatory in keeping these hungry little creeps out of the spud patch! A three-year rotation is recommended. Other members of the nightshade family (eggplants, peppers and tomatoes) should NOT follow NOR precede potatoes.
Flea beetles are another common pest. However, the damage they cause to the leaves is not usually a big enough problem to worry about, unless early in the season during vegetative growth and tuber development (I figure if they’re munching on the potato leaves, they’re leaving something else alone!)
Diseases: There are a bunch of them out there. Again, sanitation, use of certified seed, going easy on the watering, and rotation, can diminish the risks dramatically. The Bonner County Extension office has a vast amount of resources covering not only problems you might incur growing potatoes but all of the other goodies in your vegetable, herb or flower gardens.
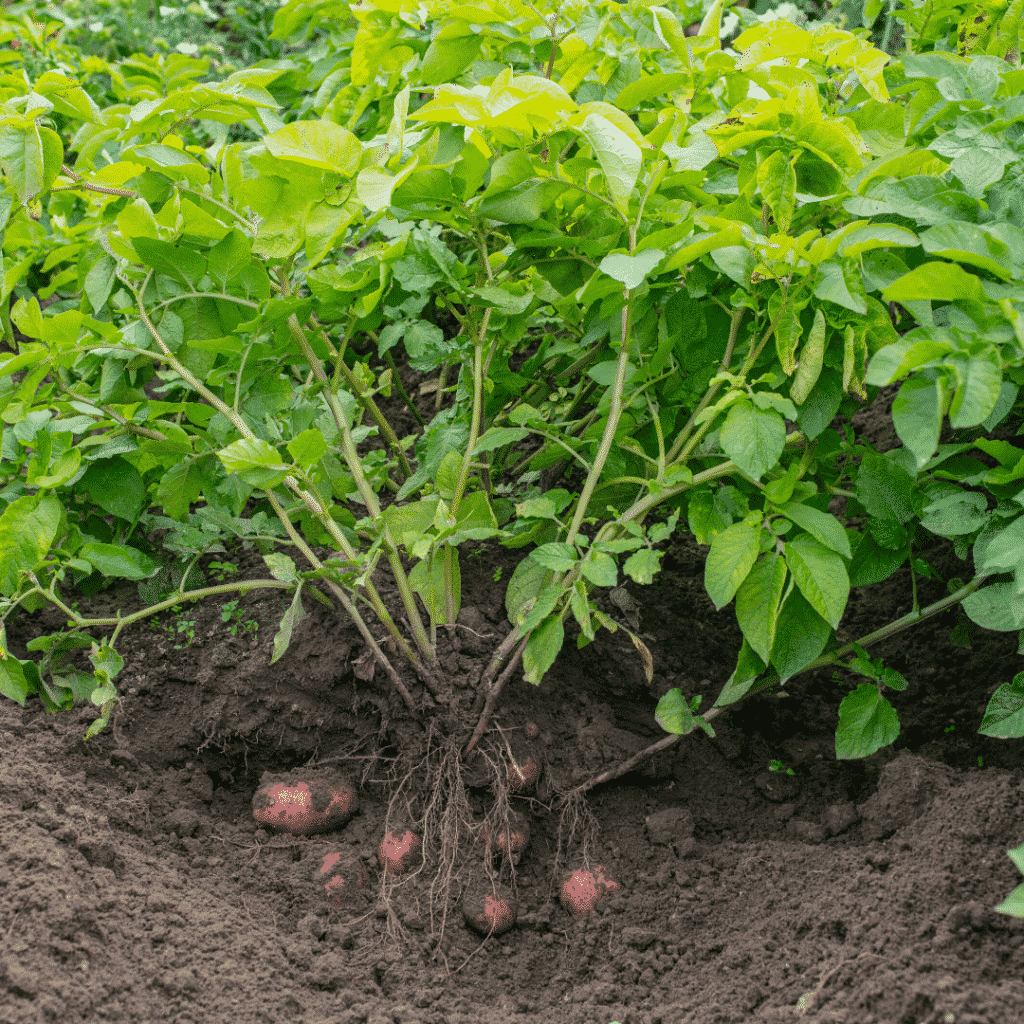
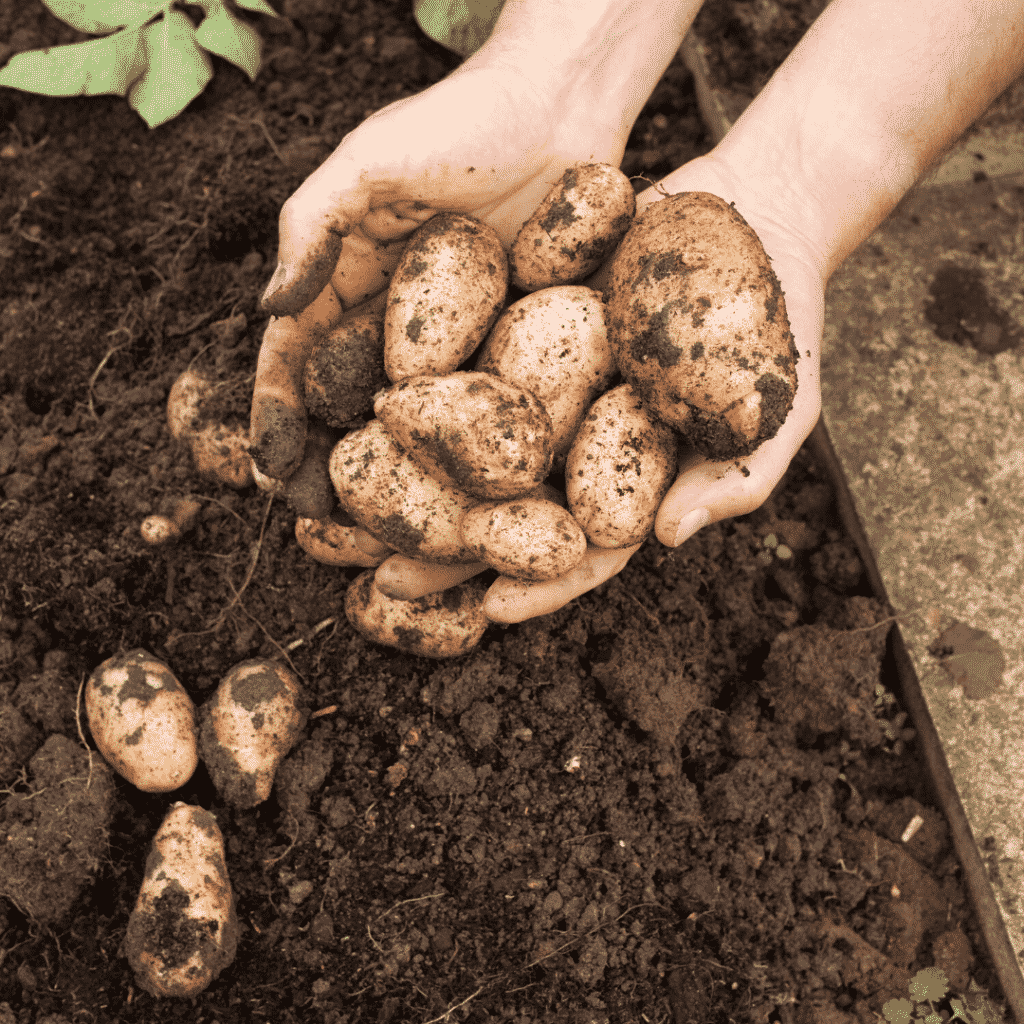
Harvest: When plants are blooming heavily, you may gently reach in (with your fingers) and steal a few of the precious “baby new potatoes”. Be very careful not to disturb the rest of the crop; the skins are very fragile. When cooking, lightly steam, roast or microwave. Never boil the “babies” – they’ll explode!
The main harvest should be held off until the skins have set. This process begins as the plants begin to yellow and then turn brown. When the plants are completely brown, this is usually the sign that the skins are set, or cured, and are ready for storage. Check a few first to make sure the skins have toughened up. Up to an additional 2 weeks in the ground might be required. Keep an eye on the weather, as digging in dry soil is preferred. If daytime temperatures are still warm, around 70 or so, dig in the early morning or early evening. Don’t harvest when very cold, as this can increase the risk of bruising.
The plant debris should be removed from the site before lifting the potatoes. This helps reduce the spread of any diseases by reducing contact with your crop. In the event you planted late and don’t feel there’ll be time for the plants to die down naturally, you can cut them at soil level, and this will trigger the setting-curing process. You will still have to wait the additional 2 weeks.
Pat says “I personally lift each and every precious spud by hand. If using a digging fork or pitchfork, be sure to stay a good 12 inches from either side of the plant, particularly with fingerling varieties. There’s nothing sadder than to spear one through the heart”!
Originally published on 2/25/01 in the Bonner County Daily Bee


Responses